How to Use Alight Motion: A Complete Step-by-Step Guide?
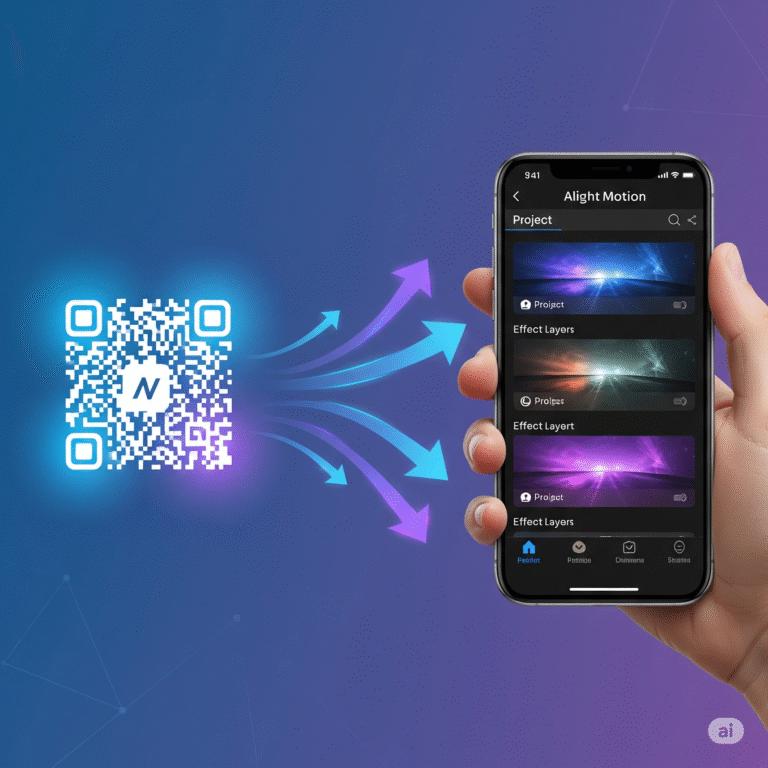
Welcome to the world of mobile motion graphics! If you’ve just downloaded Alight Motion Mod APK Pro Version, you’re holding one of the most powerful video editing and animation tools available on a smartphone. While its professional features can seem intimidating at first, this guide is here to change that.
This comprehensive walkthrough from the experts at Alight Motion Media is designed specifically for beginners. We’ll break down the entire process, from creating your first project to understanding key concepts like layers and keyframes. By the end of this tutorial, you’ll have the confidence to start creating your own stunning animations.
Understanding the Alight Motion Interface
Before we start, let’s get familiar with the main screen. When you open Alight Motion, you’ll see a few key areas:
- Home: Where you can see your existing projects.
- Tutorials: A helpful section with official guides from the developers.
- The ‘+’ Button: This is where the magic begins. You’ll tap this to start every new project.
Step 1: Creating Your First Project
Let’s jump right in. Creating a new project is your first step.
- Tap the large green ‘+’ button at the bottom of your screen.
- A “New Project” window will appear. Here you can set up your project’s foundation.
Project Settings Explained
- Project Name: Give your project a memorable name.
- Aspect Ratio: Choose the size of your video. Common choices are 16:9 (for YouTube), 9:16 (for TikTok/Reels), and 1:1 (for Instagram posts).
- Resolution: This determines the quality of your video. 1080p is standard for high-definition.
- Frame Rate: This is how many frames (images) are shown per second. 30 fps (frames per second) is standard, while 60 fps provides smoother motion.
- Background: Choose the default color for your project’s background. You can always change this later.
Once you’ve set your preferences, tap “Create Project”.
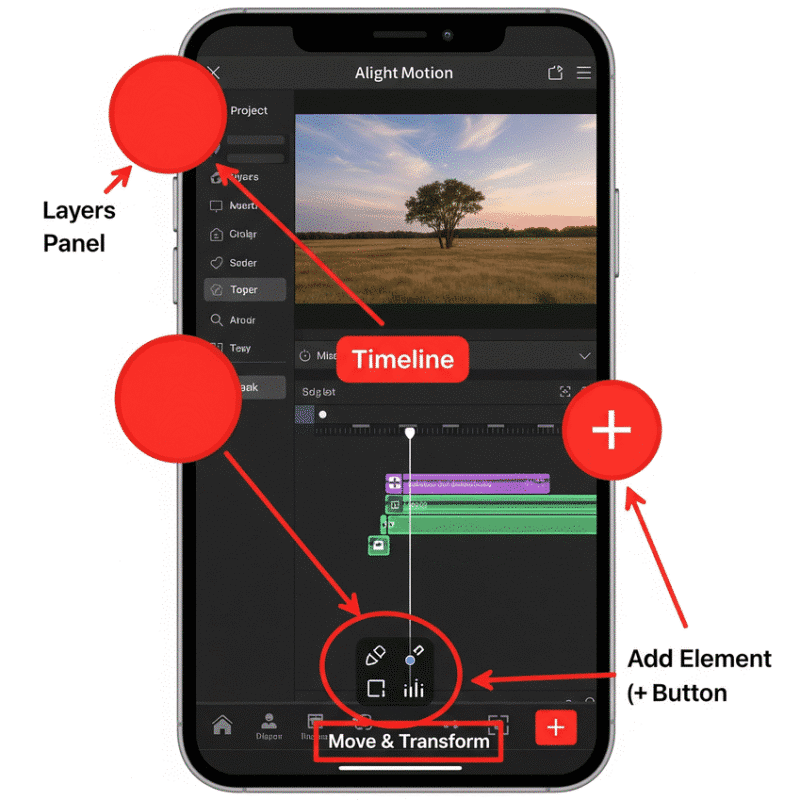
Step 2: Working with Layers and Elements
Your new project is a blank canvas. In Alight Motion, everything you add—videos, images, text, shapes, audio—exists on its own layer. Think of it like stacking transparent sheets of paper on top of each other.
- In your new project, tap the green ‘+’ button in the bottom-right corner.
- A menu will appear with different types of elements you can add:
- Shapes: Add basic shapes like circles, squares, and stars.
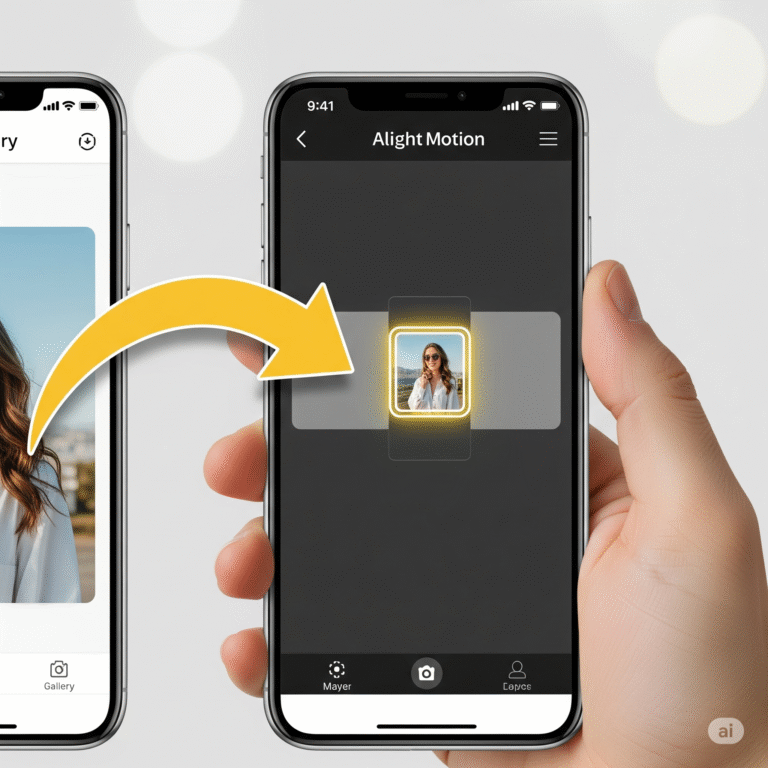
- Media: Add images and videos from your device’s gallery.
- Audio: Add a music track or sound effect.
- Text: Add and customize text layers.
- Elements: Use pre-made, reusable animations.
For this tutorial, let’s start with a shape. Select a Circle.
Step 3: Editing and Transforming Layers
Now that you have a circle on your screen, you can edit it. With the circle layer selected on your timeline, you’ll see several options at the bottom.
- Color & Fill: Change the color of your shape.
- Border & Shadow: Add an outline or a drop shadow.
- Move & Transform: This is the most important section for animation. Here you can adjust the Position, Scale (size), Rotation, and Opacity (transparency) of your layer.
Tap “Move & Transform”. You will see icons for moving, rotating, and scaling. Experiment by dragging your finger on the screen to move the circle around.
Step 4: The Magic of Keyframes – Creating Your First Animation
This is the core concept of Alight Motion. Keyframes are markers that tell the app where a layer should be at a specific point in time. By setting two different keyframes, Alight Motion will automatically create the movement between them.
Let’s make our circle move across the screen.
- Make sure your playhead (the vertical white line on the timeline) is at the very beginning (00:00).
- With the circle layer selected, tap “Move & Transform”.
- Tap the keyframe icon (it looks like a diamond with a plus sign). A diamond will appear on your timeline. This is your starting position.
- Now, move the playhead forward on the timeline to 02:00 (the two-second mark).
- Drag the circle to the opposite side of the screen. Notice that Alight Motion automatically adds a second keyframe for you.
Congratulations! You’ve just created an animation. Drag the playhead back to the beginning and press the play button to see your circle move.
Step 5: Adding Effects and Exporting Your Video
Once you’re happy with your animation, you can add effects and export your final video.
- Adding Effects: With your layer selected, tap the “Effects” button at the bottom. Tap “Add Effect” to open the extensive effects library. You can find everything from blurs and color correction to complex visual distortions.
- Exporting: When you’re ready to save your video, tap the export icon in the top-right corner (it looks like a box with an arrow pointing out).
- Choose your export format (Video, GIF, etc.).
- Tap the “Export” button.
Note: The free version of Alight Motion will place a watermark on your exported video. To remove this, you will need to subscribe to the premium version.
Download Alight Motion Mod APK Pro (%global_latest%) for Android now! and for older and stabled version click here.. If you want this application for PC or iOS click on the links.