How to Add Music or Audio in Alight Motion Easily?
When you learn how to Alight Motion add audio, it opens up a world of creative possibilities for your video projects. You’ll be able to enhance the viewer’s experience significantly.
A great video is more than just cool visuals—sound is half the story! Adding the perfect background music or a fun sound effect can completely change the vibe of your edit. If you’re new to the Alight Motion app, you’ll be happy to know that adding audio is super easy. In this guide, we’ll specifically look at how to Alight Motion add audio to your projects.
This friendly guide from Alight Motion Media will show you exactly how to add music and sound effects to your projects. We’ll also cover some basic editing, like trimming your audio and adjusting the volume, to help you get the perfect sound.
How to Add Audio in Alight Motion: The Simple Steps
Let’s get that audio file into your project. It only takes a few taps.
Step 1: Open Your Alight Motion Project
First, open the project you want to add sound to, or start a new one.
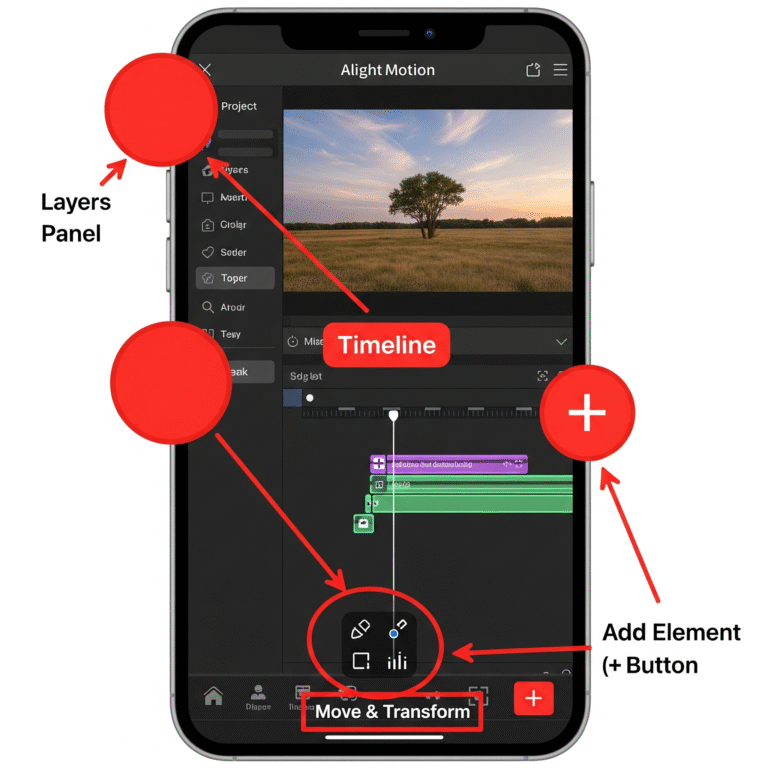
Step 2: Tap the ‘+’ Button to Add a Layer
Just like adding a photo or text, audio is a layer. Tap the green ‘+’ button in the bottom-right corner of your screen.
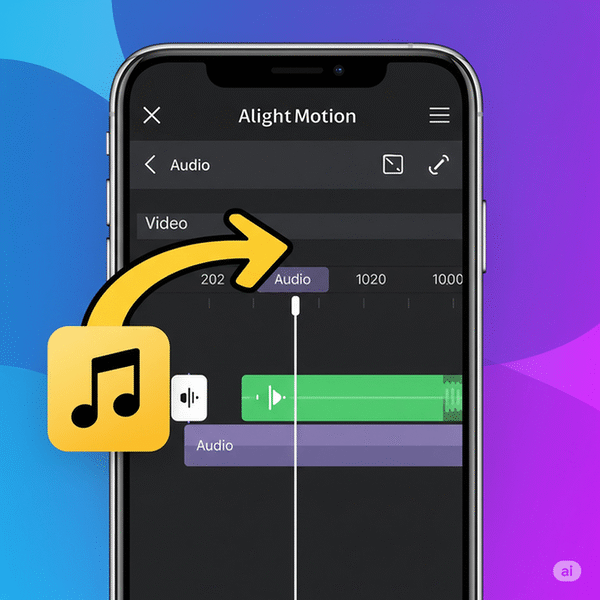
Step 3: Select and Add Your Audio File
- From the menu that pops up, tap on the “Audio” option.
- This will open your phone’s audio library. You can browse all the music and sound files saved on your device.
- Find the song or sound effect you want to use and tap on it.
And that’s it! The audio will be added to your project as a new, green-colored layer on your timeline.
Basic Audio Editing in Alight Motion
Understanding how to Alight Motion add audio correctly will make your projects stand out. Now that your audio is in the project, here are a couple of simple editing tips you’ll use all the time.
How to Trim Your Audio
You probably don’t want the entire song to play. Here’s how to trim it down.
- Tap on the green audio layer in your timeline to select it.
- Drag the playhead (the white vertical line) to the spot where you want the audio to start.
- Tap the trim icon that looks like
[ |(the first trim option). This will cut off the beginning of the clip. - Now, drag the playhead to where you want the audio to end, and tap the other trim icon
| ]. This will cut off the end.
How to Adjust the Volume
Is your music too loud or too quiet? Easy fix.
- Tap on the audio layer to select it.
- Look for the volume icon (it looks like a speaker) in the bottom-right corner of the screen.
- Tap it, and a slider will appear. Drag the slider to the left to lower the volume or to the right to raise it.
Pro Tips for Better Sound
- Fade In & Fade Out: To avoid your music starting and stopping abruptly, add a fade. Select your audio layer, go to Effects > Add Effect > Audio > Fade In/Out.
- Multiple Audio Tracks: You can add more than one audio layer! This is great for having background music playing at a low volume while adding louder sound effects on top.
- Find Royalty-Free Music: To avoid copyright issues on platforms like YouTube, search for “royalty-free music” online. Many websites offer free tracks you can download and use in your videos.
Download Alight Motion Mod APK Pro (%global_latest%) for Android now! and for older and stabled version click here.. If you want this application for PC or iOS click on the links.